

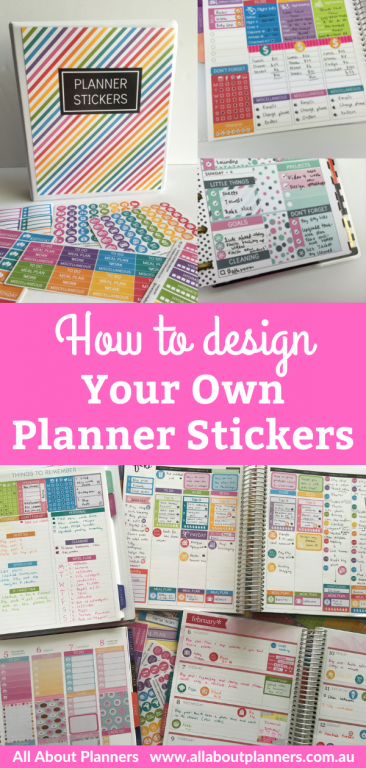
How To Make Stickers For Planners With Photoshop
If you love using planner stickers and want to start making your own but aren't certain how, here's a sneak peak at my design process!
![]()
Part ane: Create a Template
1. What sort of stickers practise you want to make?
Usually I'll accept an thought of planner stickers I want to make based on a need. If I notice myself re-writing things out multiple times, or if I'g running short on space, so I'll brand a sticker to save time and space in my planner. I much prefer to use functional stickers for planning. While kits are pretty they but don't work for me.
Related: Calendar week 24: Using Erin Condren Size Planner Stickers in MAMBI Archetype Happy Planner
Some other source of inspiration is taking a design y'all already have and tweaking it. For case, I like using checklist stickers and so I made a ton with lots of dissimilar images eastward.m. squares, circles, pineapples (I shared a free download of these here!) Christmas themed etc. I tend to stick to the aforementioned rainbow colors only taking an existing design and using a new colour scheme is another pick.
If you're tired of using the same sticker kit this is usually an indication it's time to create something new! If you've purchased sticker kits there are ordinarily some still left on the sail that never get used (or are i off occasion blazon stickers that rarely go used) – keep these in listen when deciding what stickers you lot desire to make that volition work for you.
Related: Which planner stickers are right for you lot?
two. What size do the stickers need to be?
Rather than guessing, catch your planner and measure up the space you want the sticker to fit. The Silhouette Studio software I use to make stickers can take inches, mm or cm every bit the unit of measurement. I prefer to work in cm and mm, non but considering that's what nosotros apply hither in Australia, but because it's easier to get an exact dimension. 3.4cm is easier to measure than ane.33″ (in my opinion).
If you are making stickers to sell and don't want to buy the planner to get the dimensions, I shared dimensions for the MAMBI happy planner. The dimensions for pop planners such every bit all of the Erin Condren, Limelife and near of the Plum Paper spreads are in my ecourse: How to Brand Planner Stickers
3. Create a template
I've used both Photoshop and Silhouette Studio to make stickers over the by couple of years. If yous want a machine to cut them for you rather than hand-cutting, use a Silhouette automobile. The motorcar is a bit pricey and you need to purchase accessories that go with information technology such as blades and cutting mats, but it's ideal for stickers that don't have a direct edge such equally circles.
Related: four Tools for cutting printable planner stickers (and my favorite method)
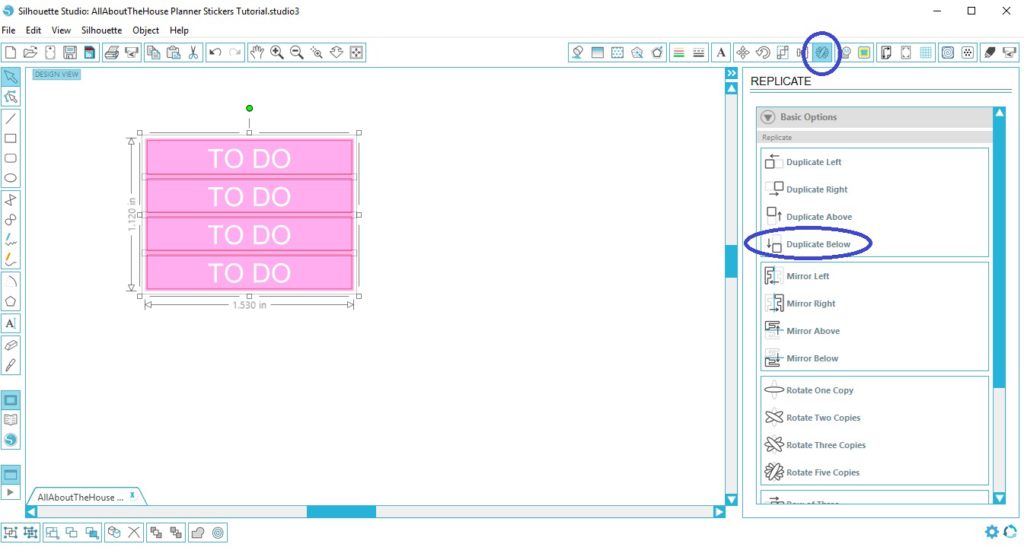
I have 1 file in Silhouette Studio which has one copy of each sticker template e.g. squares at various sizes such as 0.25″, 0.5″ , rectangle stickers, rectangle stickers with rounded corners etc. I ever have this document open when making stickers so I tin copy and paste them into new sticker sheet templates rather than wasting time re-creating them.
 Related: How to brand your own custom Erin Condren (or any planner) header title section planner stickers (stride by step video tutorial)
There are a couple of options for creating sticker sheets:
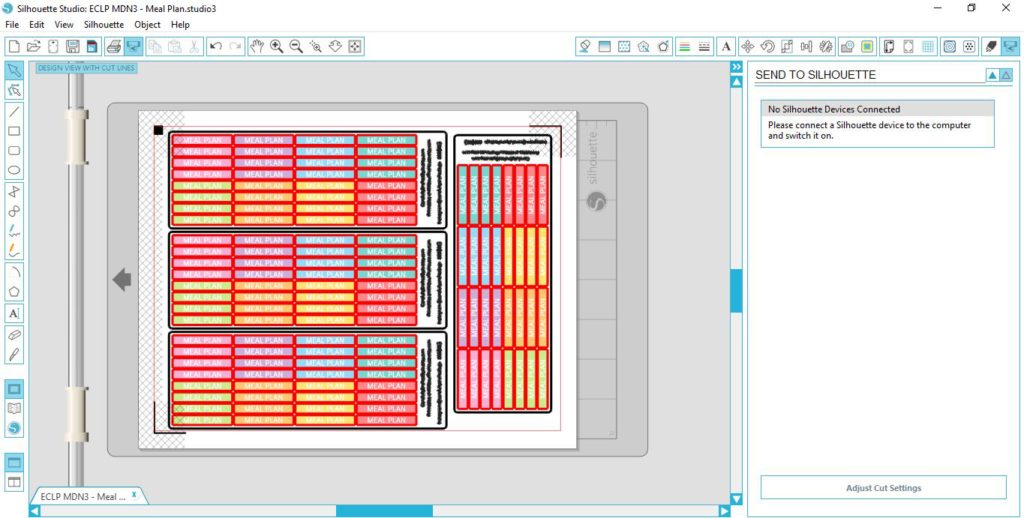
- Ane blueprint replicated across the entire sheet
- Multiple designs on the aforementioned canvas e.thou. 5 unlike icon stickers
- A sticker kit with a mixture of different types of stickers (usually all unlike)
Make certain you salvage the templates somewhere y'all can easily find them on your figurer. I use separate folders to organize stickers by type / size:
- Icon stickers (0.5″ circular)
- Icon stickers (0.5″ square)
- Mini icon stickers (0.25″ circular)
- Quarter box labels
- Sidebar stickers
- Half box Stickers
- Checklist sticker
- etc.
Tip: Don't accept Photoshop and Silhouette Studio running at the same fourth dimension – it will likely crusade your computer to crash (well mine did when I tried information technology) – both programs are heavy usage.
I shared a tutorial on how I fix upwards a template and make a header sticker from showtime to finish using Silhouette Studio in this post.
More helpful tutorials:
- How to make planner stickers for gratis using Silhouette Studio (Introduction – Video Tutorial)
- How to make planner stickers – creating perfectly proportioned shapes in Silhouette Studio (video tutorial)
4. Add an beginning & Cut Lines
Now that yous take the dimensions you want the sticker to be, it'southward time to add an outset. Past this I mean extra space around the sticker. This means if the blade slips when cutting white won't appear on the sticker, in that location'll be colour – it looks much more neater and professional and means y'all don't have to re-cut an entire canvass if you're selling them,
You tin can add any size showtime you similar, I tend to employ betwixt 0.03 and 0.05″. I use a larger offset for stickers that don't take directly edges as the blades are more prone to slipping (i.e. round stickers).
I share the cut settings I use in my ecourse:How to Make Planner Stickers
Part 2: Add design elements
four. Choose Colors
Colors will typically comprise fifty% of the overall blueprint then make certain you cull wisely – especially if you're going to be using the aforementioned color scheme for all of your stickers. I utilise the same eight colors to create a rainbow for all of my stickers. I spent hours choosing these colors – I'm so glad I did – I'd rather spend a lot of time and be 100% happy with how the colors await individually and how they come together to create the rainbow.
If I'm making a sticker kit, color tools are my go-to resources for finding color schemes – they pair together colors y'all probably wouldn't ordinarily think look practiced together.
My favorite color tools are:
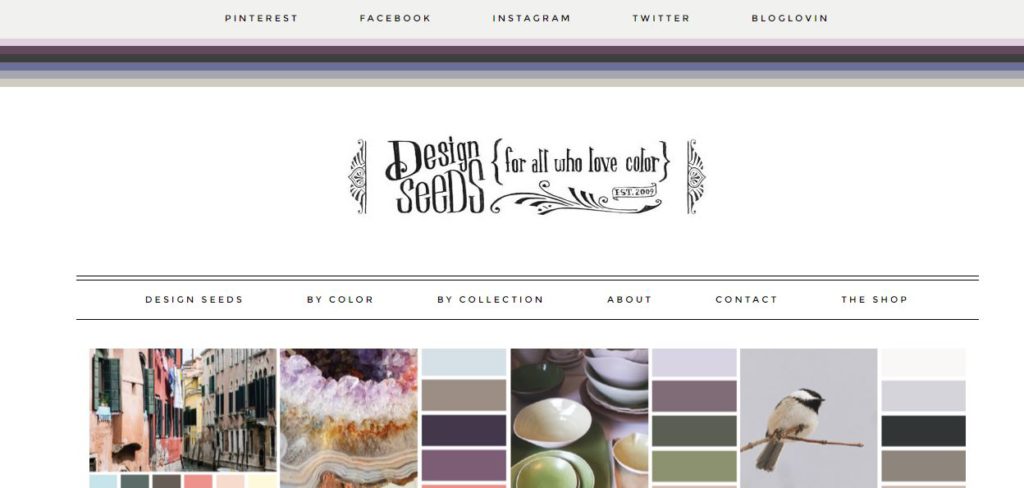
- Design Seeds
- Photocopa
- 0 to 255 (my favorite tool for ombre colors schemes)
- Colour Picker
I shared more than about each of these color tools in this post: My 5 Favourite Colour Tools for Graphic Design
5. Choose Fonts
Like colors, fonts are a large portion of the design, especially if you're creating header stickers (where the font may exist thesimplypart of the design apart from the colour), so make certain you choose wisely!
Don't utilize the same fonts everyone else is using, it's so of import to accept the fourth dimension to cull fonts that will make your stickers look different to anybody elses.
Cursive fonts are ok for headings – only make sure the font is piece of cake to read. I don't recommend using cursive fonts for all of the texton the stickers as it makes information technology expect busy. Cursive fonts unremarkably take upwardly more space than simple sans serif fonts every bit the letters 'bounce' (like manus lettering).
While choosing colors & fonts, you may desire to do a test print (more on that in part 3 later in this mail)
Related: How to download and install custom fonts on your computer
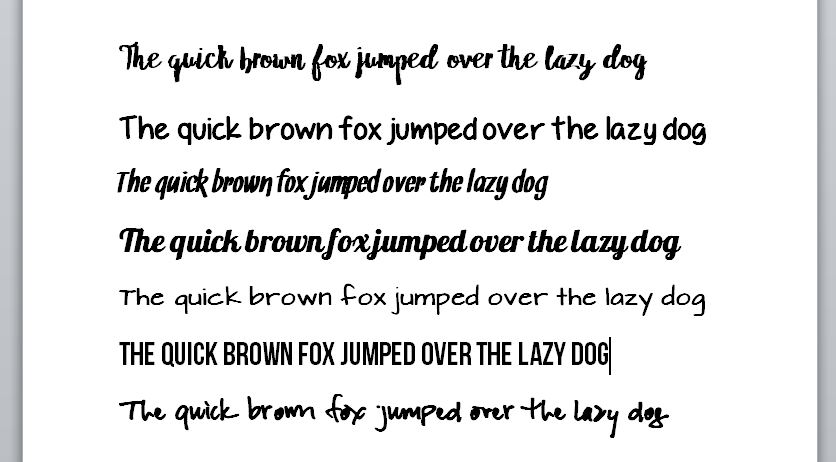
When deciding which font I desire to use, I open up a word document and type the phrasethe quick dark-brown fox jumped over the lazy canis familiarisit's a phrase that uses every letter of the alphabet and makes it like shooting fish in a barrel to compare which fonts I like the best!
I wouldn't utilize the first or last font in the paradigm beneath for making stickers as they're hard to read. I would use the second font from the summit and the second font from the lesser equally they're easy to read.
6. Add together graphics
Graphics could be:
- Clipart
- Icons
- Something simple such every bit adding lines such as — to either side of text such as — to do — to make information technology await a bit more than unique
Other options to make your stickers await dissimilar include:
- Creating an ombre effect i.due east. light to dark (this is my favorite way for checklist stickers)
- Calculation a border e.g. a sparse white border effectually a circle or square sticker – especially icons
- Using dissimilar fonts e.g. one font for the title and a different font for the balance of the text on a sticker
- Using different shapes or graphics for checklist and addiction tracking stickers rather than but a simple circle or foursquare (although stickers with these shapes nevertheless look good!)
Part 3: Printing the stickers
7. Cull your characterization paper type
There are 2 main types of characterization paper: matte and glossy.
Use matte if y'all desire to write on the stickers using gel pens as the ink will smear off of glossy label paper.
I prefer to use matte label paper equally both ballpoint and gel pens will work well. Matte label newspaper tends to be thinner – I find thinner label papers piece of work best with the Silhouette machines and the blades tend to terminal longer than glossy label paper.
I have found that the 'unofficial' label paper (i.east. anything but Avery) is cheaper and works but as good!
Related: Where to buy label newspaper
8. Do a test impress
I do a test print on normal copy paper to see how the colors look. I tend to practise examination prints when choosing colors and fonts so I tin see how colors look together. Colors tin can print differently to how they wait your screen so ever exercise a test print before printing dozens of sticker sheets!
Related: How to Choose a Printer (Including the best printer for printing printables and planner stickers)
See this mail for tips on how to make sure your stickers are nice and bright!7 Means to make colors Popular when press using an Inkjet printer
Adapt the template until you're happy with it then…
9. Make more stickers!
Once you start making stickers it can become a bit of an habit. Experiment with different shapes, colors, fonts, graphics – you can brand stickers for anything and everything!
Some stickers y'all could make:
- Habit tracking
- Checklists
- Reminders (flag shape stickers are practiced for this)
- Stickers for school (teachers & students)
- Cleaning routine
- Monthly / Weekly / Daily routine tasks (and then you don't have to go on re-writing them out)
- Bill due
- Pet stickers e.1000. vet appointments
- Months of the years, days of the week and date dots (these are ideal for bullet journalling)
- Work (vacation, meetings etc.)
- Appointments (hair, dentist, physician etc.)
- Spending
- Hydrate tracking
- Debt repayments – mortgage, credit carte du jour etc.
- Blogging workflow – stickers for editing, drafting, recording videos, making images, social media etc.
- Due dates (for assessment, product launches if yous have a business organization, conferences etc.)
- Countdown stickers (to holiday, to a special event such as Christmas etc.)
- Etc.!
Click hither to learn how to make your own planner stickers.

The process behind making planner stickers is like to the process I use for making planner printables which yous can read more than most in this post:How to make planner printables (advice from a planner addict that's made over 4000 printables)
Plant this post helpful? Pin it!
![]()
Source: https://allaboutplanners.com.au/how-to-design-planner-stickers-from-start-to-finish-a-sneak-peak-at-my-design-process/
Posted by: jacksonprolifece.blogspot.com
0 Response to "How To Make Stickers For Planners With Photoshop"
Post a Comment